

Just Fighting
웹 크롤링하기 본문
<라이브러리 설치>
먼저 requests와 bs4 라이브러리를 설치해야한다.
라이브러리 설치에는 두가지 방법이 있다.
① 터미널에서 설치하기
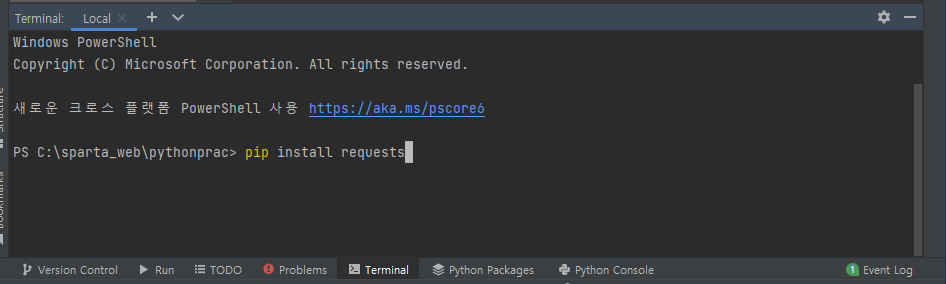
② File > Settings > Project > python Interpreter에서 라이브러리를 설치하면 된다.
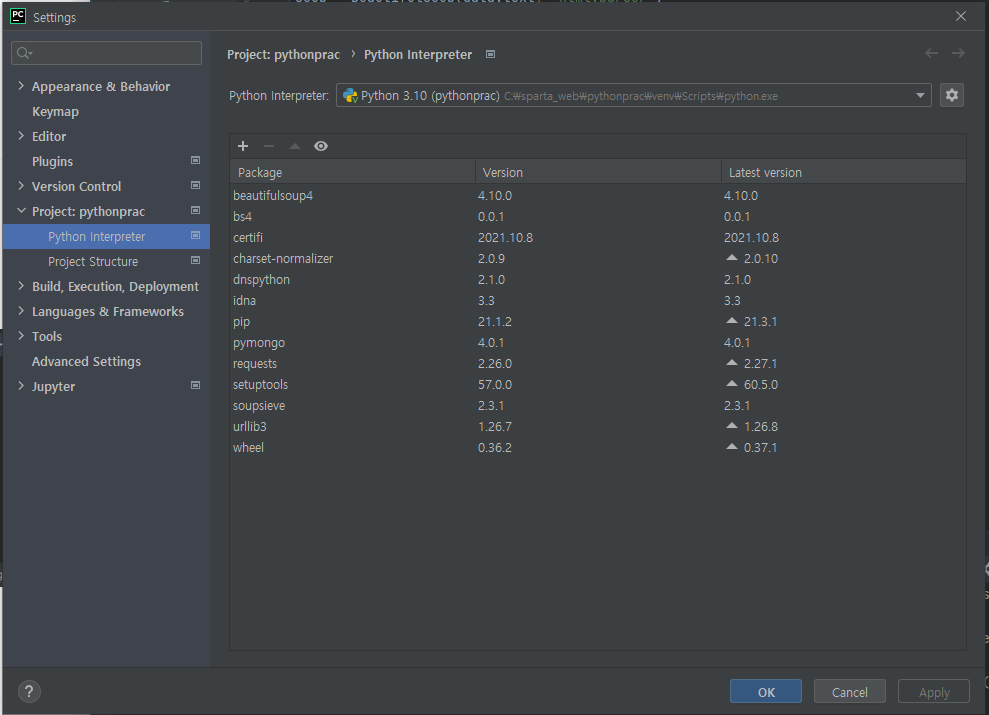
+ 버튼을 눌러서 필요한 라이브러리를 설치하면 된다.
<웹 크롤링>
import requests
from bs4 import BeautifulSoup

headers = {'User-Agent' : 'Mozilla/5.0 (Windows NT 10.0; Win64; x64)AppleWebKit/537.36 (KHTML, like Gecko) Chrome/73.0.3683.86 Safari/537.36'}
data = requests.get('크롤링하고 싶은 홈페이지',headers=headers)

soup = BeautifulSoup(data.text, 'html.parser')

# 코드 작성
크롤링하고자 하는 홈페이지의 주소를 넣어주면 크롤링할 준비가 끝난 것이다!
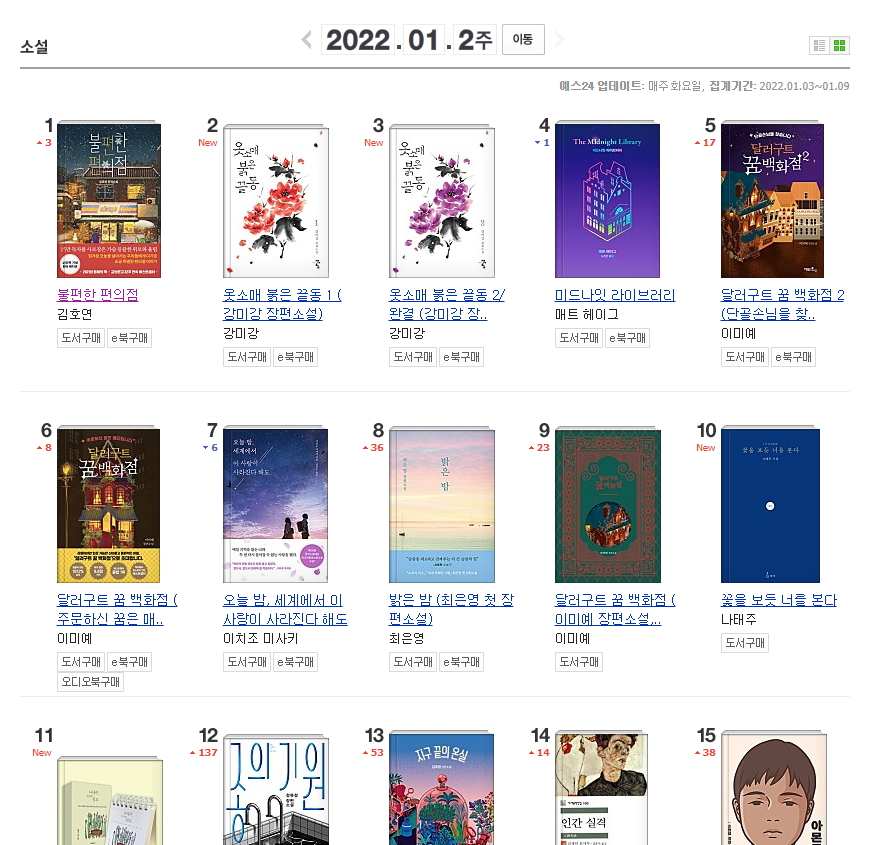
네이버 책의 베스트셀러 책을 크롤링해보자.
https://book.naver.com/bestsell/bestseller_list.naver?type=image&cp=yes24&cate=001001044
내가 필요한 것은 책 제목과 저자의 값들이다.
그전에 어떤 태그에 내가 원하는 데이터들이 있는지 알아야 한다.
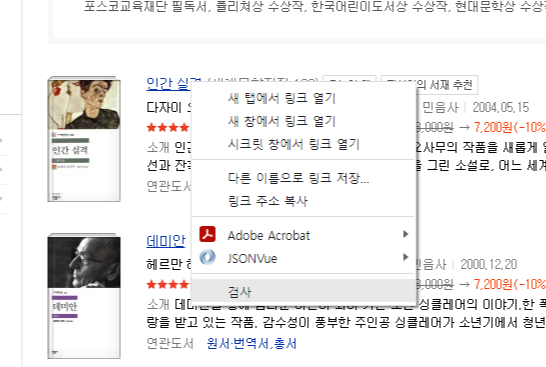
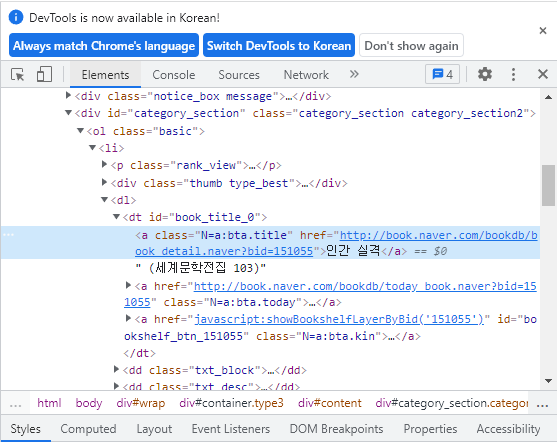
제목에 오른쪽 마우스를 클릭하고 검사를 누르면 값이 있는 태그를 알 수 있다.
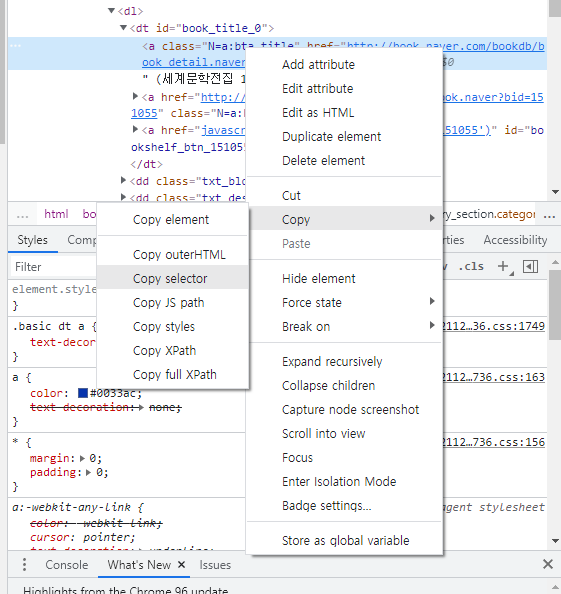
원하는 태그에 오른쪽 마우스 클릭해 Copy seletor를 누르면 셀렉터를 쉽게 가져올 수 있다.
 |
 |
 |
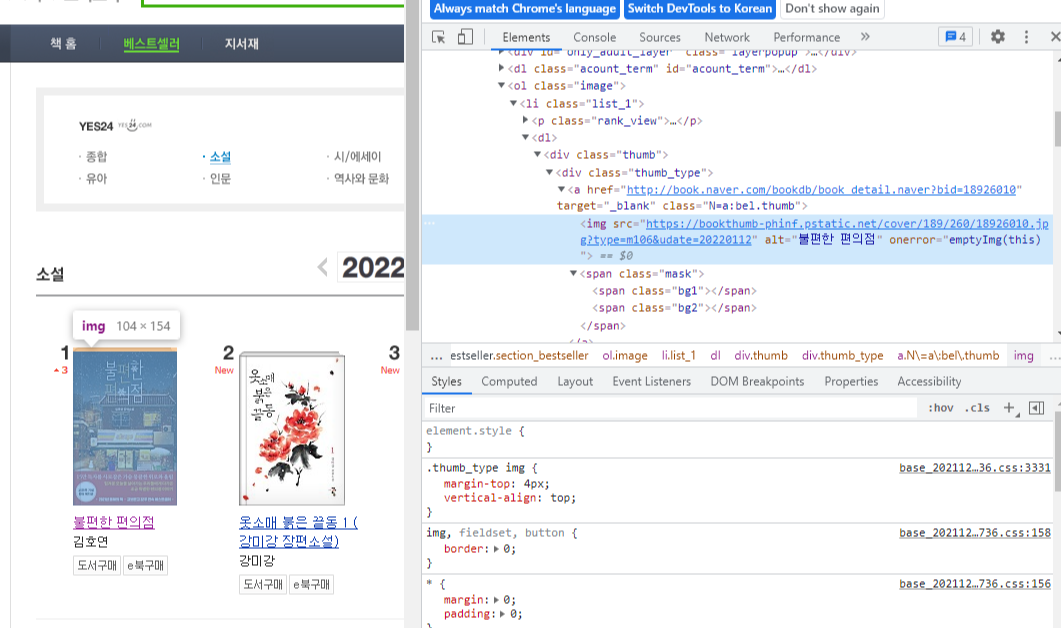
책 이름을 포함하는 태그를 가져오는 게 잘 되지 않아서 사진의 alt값을 가져오는 것을 이용했다.
'#section_bestseller > ol > li:nth-child(1) > dl > div > div > a > img'를 이용하면 된다.
import requests
from bs4 import BeautifulSoup

headers = {'User-Agent' : 'Mozilla/5.0 (Windows NT 10.0; Win64; x64)AppleWebKit/537.36 (KHTML, like Gecko) Chrome/73.0.3683.86 Safari/537.36'}
data = requests.get('https://book.naver.com/bestsell/bestseller_list.naver?cp=yes24&cate=001001044&bestWeek=2022-01-2&indexCount=2&type=image&page=1',headers=headers)

soup = BeautifulSoup(data.text, 'html.parser')

book = soup.select_one('#section_bestseller > ol > li:nth-child(1) > dl > div > div > a > img')['alt']

print(book)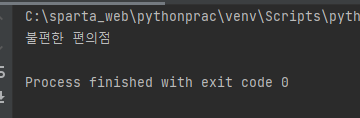
하나를 가져오는 것을 성공했으니 한 페이지에 있는 것을 크롤링해보자.
불편한 편의점이 #section_bestseller > ol > li:nth-child(1) > dl > div > div > a > img
그 다음 순위인 옷소매 붉은 끝동1이 #section_bestseller > ol > li:nth-child(3) > dl > div > div > a > img 이다.
따라서 'li:nth-child(1)'이 변하는 부분이라고 할 수 있다.
books = soup.select('#section_bestseller > ol > li')

for book in books:
    title = book.select_one('dl > div > div > a > img')['alt']
    print(title)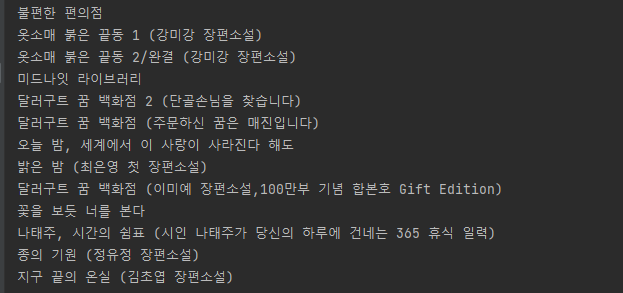
작가의 이름도 함께 크롤링해서 제목 옆에 붙여보자.
책의 이름과 작가의 이름을 한 번에 뽑을 수 있도록 다른 태그를 이용했다.
books = soup.select('#content ol.image dl')
print(books[0])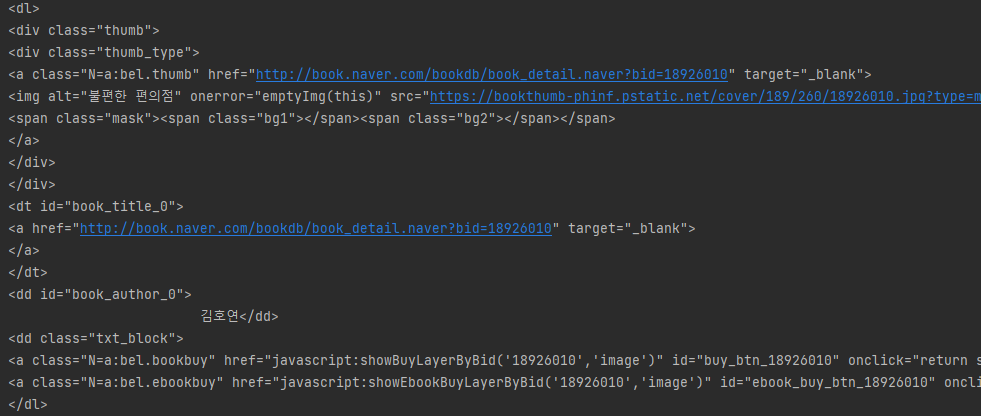
'#content ol.image dl' 의 의미는 'content'라는 id를 가진 태그의 자손 중에
'image'라는 class를 가진 ol태그의 자손 중에 dl 태그를 의미한다.
위 사진은 이 dl 태그를 나타낸다. dl 태그 안에 여러 태그들이 존재한다.
이중에서 img 태그의 alt가 책 이름이고, dd 태그 안에 작가의 이름이 나타나있다.
import requests
from bs4 import BeautifulSoup

headers = {'User-Agent' : 'Mozilla/5.0 (Windows NT 10.0; Win64; x64)AppleWebKit/537.36 (KHTML, like Gecko) Chrome/73.0.3683.86 Safari/537.36'}
data = requests.get('https://book.naver.com/bestsell/bestseller_list.naver?cp=yes24&cate=001001044&bestWeek=2022-01-2&indexCount=2&type=image&page=1',headers=headers)

soup = BeautifulSoup(data.text, 'html.parser')

books = soup.select('#content ol.image dl')

for book in books:
    title = book.select_one('img')['alt']
    author = book.select_one('dd').text.strip()

    print(title, author)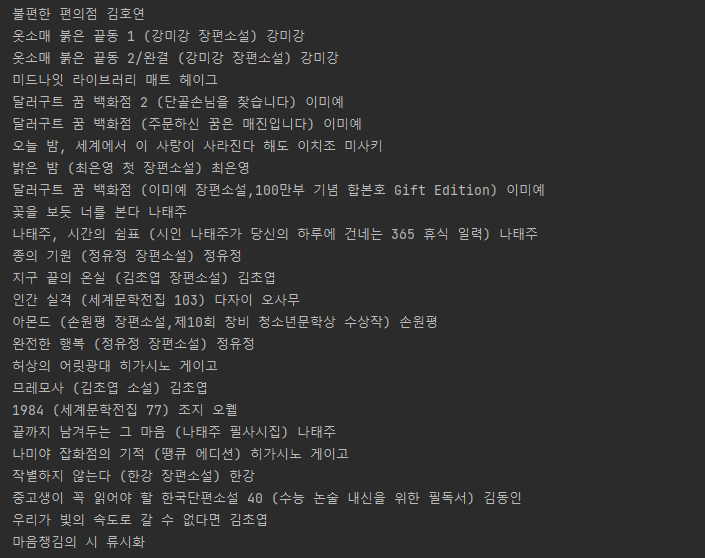
위와 같이 책 제목과 작가의 이름을 뽑아낼 수 있었다.
작가의 이름에는 앞에 많은 공백을 포함하고 있었기 때문에 strip() 함수를 이용하여 공백을 제거했다.
<참고 사항 - 셀렉터 예시>
태그 이름 셀렉터 : 태그 이름이 셀렉터 예) dl, div, a, img
class 셀렉터 : 셀렉터 이름 앞에 점(.)을 붙임 예) ol.image
id 셀렉터 : 셀렉터 이름 앞에 '#'을 붙임 예) #content, #section_bestseller
자식 셀렉터 : 부모 자식 관계인 두 셀렉터를 '>' 기호로 조합 예) dl > div
자속 셀렉터 : 자손 관계인 2개 이상의 태그를 나열한 형태(공백) 예) #content ol.image
전체 셀렉터 : 웹페이지의 모든 HTML 태그에 적용 예) * {color : green;}
속성 셀렉터 : 태그의 특정 속성에 대해 값이 일치하는 태그에만 적용 예) input[type=text] {color : red;}
가상 클래스 셀렉터 : 어떤 상황이 발생하였을 때 적용(콜론 앞뒤 빈칸X) 예) a:visited {color : green;}
'Python' 카테고리의 다른 글
| 데이터 타입 별 barplot 그리기 (0) | 2022.01.27 |
|---|---|
| GroupBy 사용하기 (0) | 2022.01.24 |
| 데이터 필터링하기 (0) | 2022.01.24 |
| 데이터 살펴보기 (0) | 2022.01.14 |
| CSV 파일 불러오기 (0) | 2022.01.14 |


